The
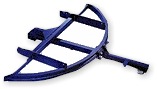
![]() Hitch
Hitch
This page is about the PullRite trailer hitch. The PullRite hitch is one of three hitches designed to eliminate sway from every occuring. This is very different from all the other hitch types that use friction in one way or another to dampen sway. Like I said, there are 3 hitches designed to eliminate sway. The other two are the Hensley and the ProPride. The ProPride is identical in theory to the Hensley. and even designed by Jim Hensely, but with some new features. Both the Hensley and ProPride use linkages to project the pivot point forward while the PullRite actually relocates the physical pivot point forward. The key difference is that the pivot point never moves with the PullRite while the virtual pivot point of the Hensely/ProPride changes under different towing situations.
This page is about the PullRite travel trailer hitch. A separate page on the Hensley is located here, and a comparison of the hitch types is here.
After having owned two Hensley Hitches, and being disenchanted with the second one, we discovered that the PullRite hitch was supposed to be an easy 20-minute bolt up affair for our Chevy 2500HD. So, after selling the Hensley on eBay, we ordered the new PullRite in the 70º 20,000# version. I'd wanted the 90º version, but it's no longer available.
The PullRite is shipped on a pallet. It weighs 415#, so be prepared. The freight company delivered it to our neighbor's boat yard and we simply strong armed it from their truck to the bed slide in our truck.
As always, the first part of any project is to unwrap the new toy and look it over! So, here goes . . .
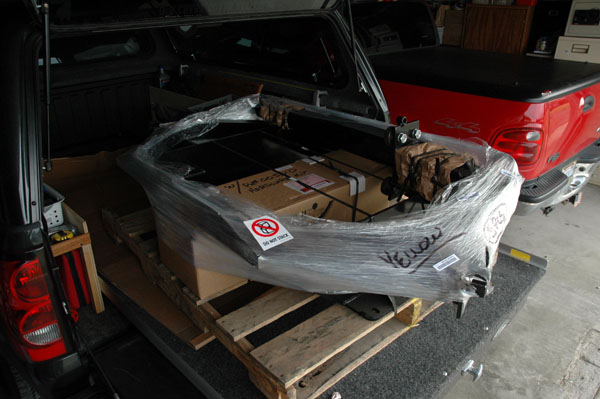
Here it is as delivered.
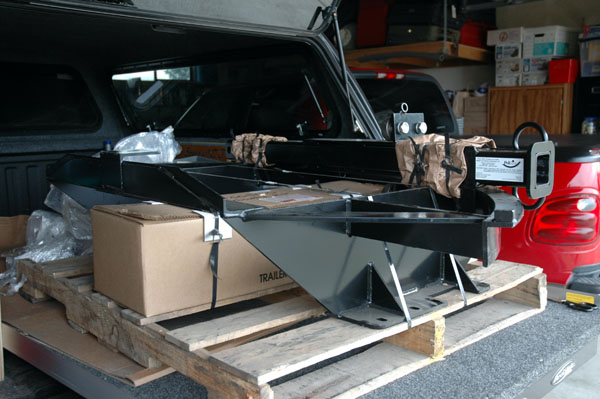
It's slightly more recognizable with the plastic wrap removed. The tow bar in on top, and the box of hardware is inside the arc. The box of hardware weighs roughly 100#.
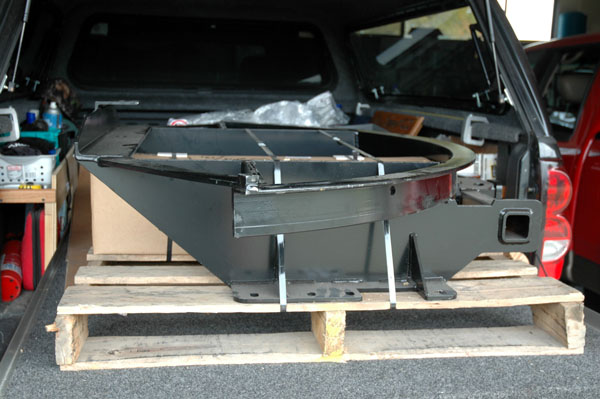
The tow bar has been uncovering the design of the radius bar and mounting. Note the assembly is shipped upside down.
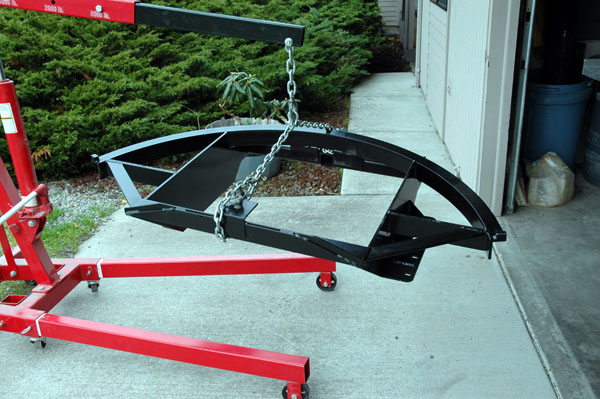
The main assembly weighs about 270# so it's easier to use an engine hoist, especially if you're doing this part alone like I was.
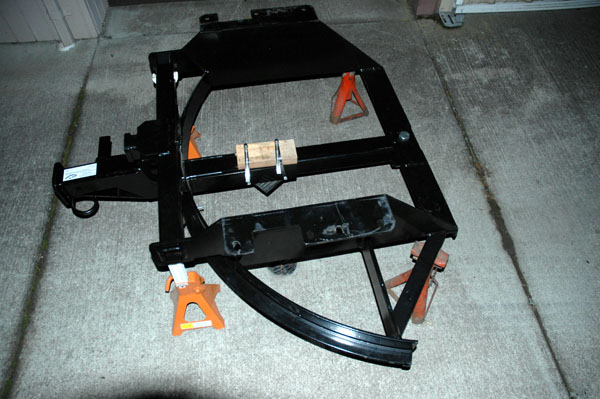
After flipping the assembly right-side up and sitting it on jack stands, I installed the tow bar and secured it in the center position with 2 C-clamps. I also clamped the rubber pad from my floor jack to the balance point on the tow bar for slipping the entire assembly under the truck and then lifting it into position.
Now comes the actual installation.
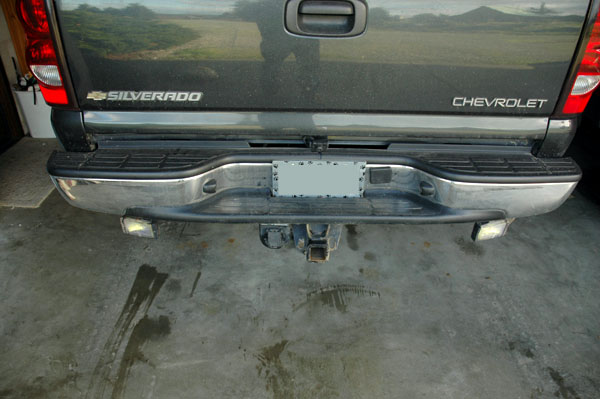
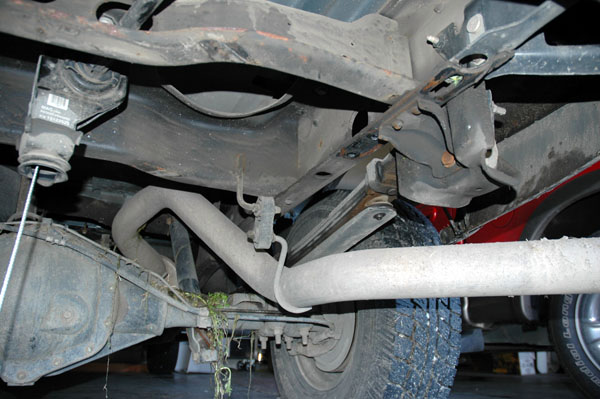
Here's the last peek at the old OEM hitch on the Chevy
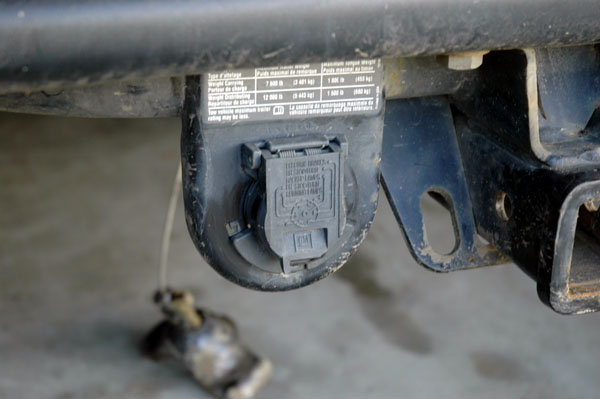
The first step is to disconnect and remove the hitch wiring harness and connector
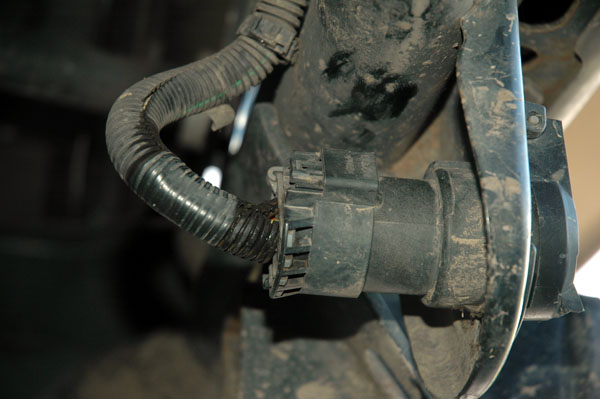
Disconnect the wiring harness from the rear of the coupler. Press on the latch at the top of the harness and wiggle it loose.
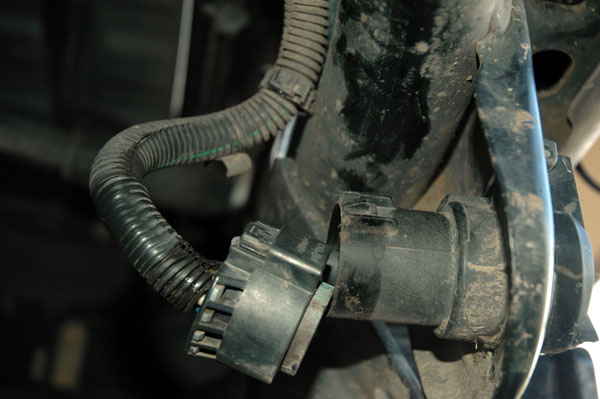
The harness is disconnected
Press on the small tab so you can rotate the connector in the mount
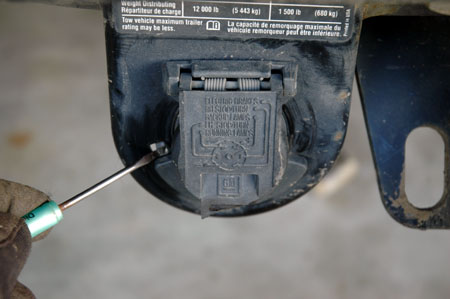
Turn the connector counter-clockwise & remove it from the mount
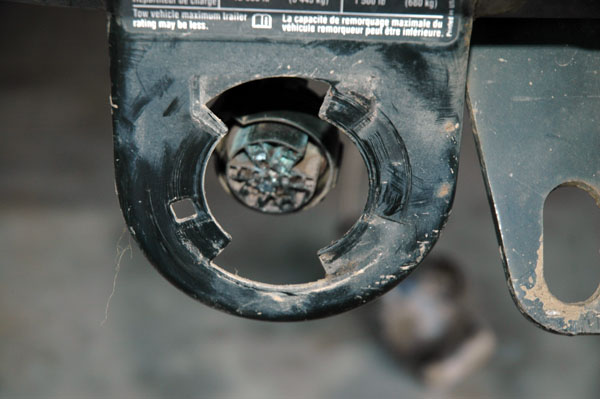
The connector mount is a part of the OE hitch assembly
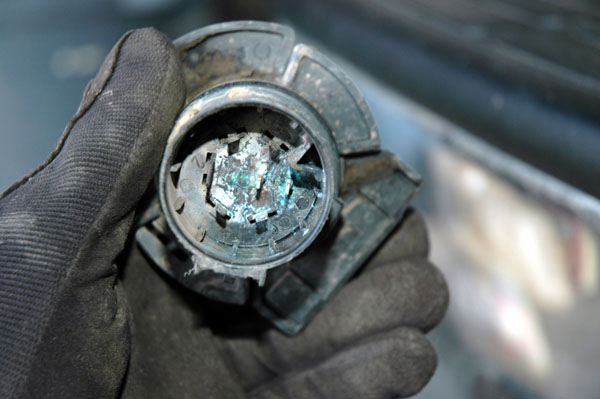
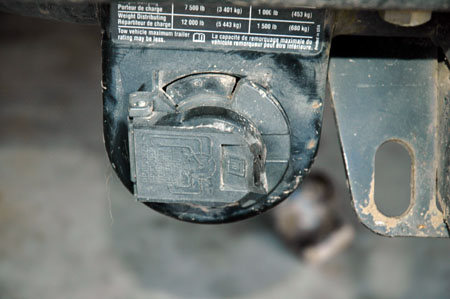
Yuck. This will have to be cleaned up and protected with some dielectric grease before it goes back together on the new hitch
There are 3 bolts holding the OE hitch on each side. The nuts for the rear bolts seem to be welded to the truck. I broke a 21mm wrench trying to loosen it. You'll need to remove the spare to access the bolts.
And 2 more bolt the hitch to the step bumper.
The OE hitch has been removed
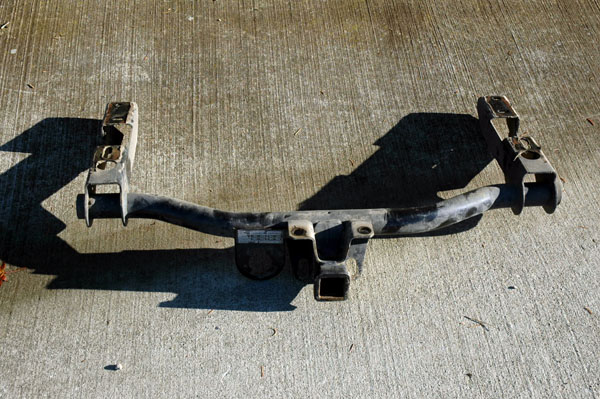
The OE 12,000 hitch looks like the proverbial 90# weakling compared to the 20,000# PullRite
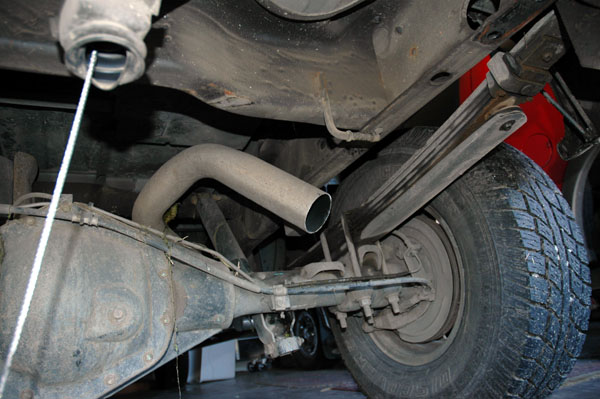
This photo shows how I cut the exhaust tail pipe. According to PullRite, the exhaust always has to be modified.
The PullRite assembly is balance on the floor jack and ready to slide under the truck. It's close, but it actually fit without raising the truck. This part of the job was actually very easy. The new hitch slid into position easily and fit perfectly.
The PullRite hitch is bolted in place.
Note the light-duty 3500# 2" receiver that is part of the PullRite assembly.
The PullRite partially swung over to the side.
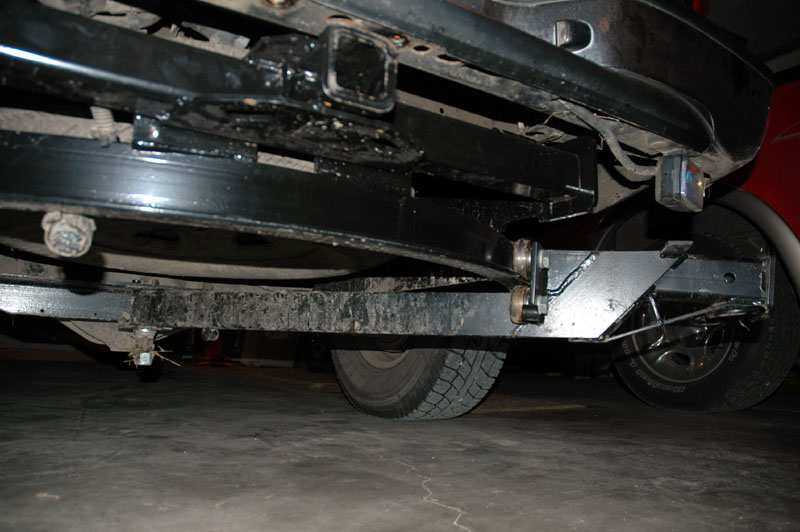
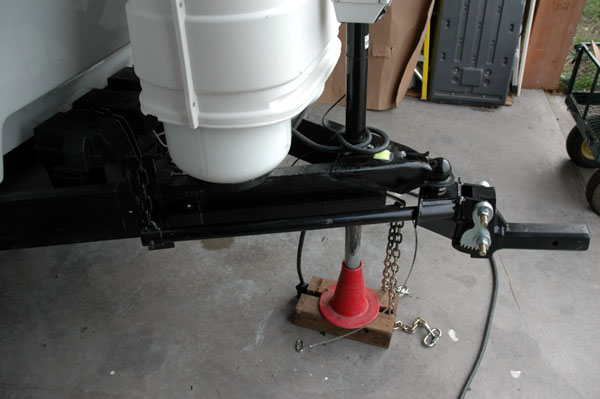
This photo shows the full length of the tow bar in the parked position at the right rear corner of the truck.
This photo shows the clearance of the tow bar as it passes under the light-duty receiver that is part of the main assembly.
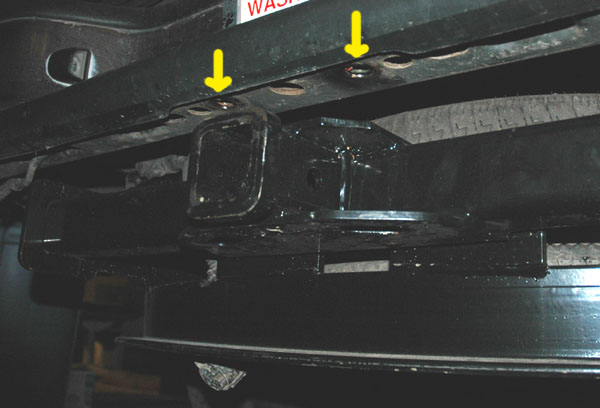
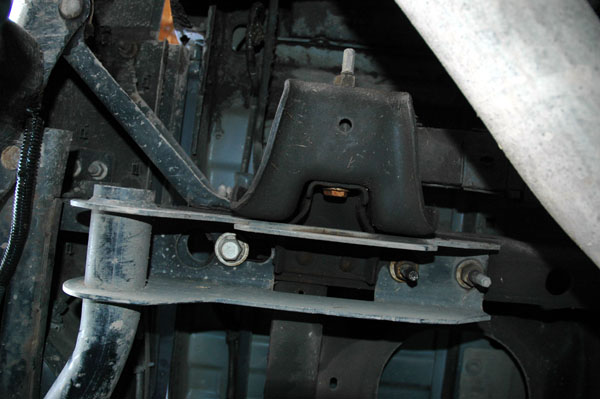
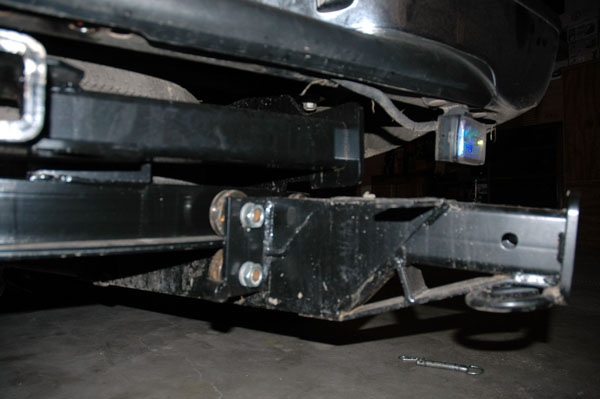
This photo shows the OEM hitch mounting holes not used by the PullRite hitch mounting. Why? It seems to me that the light-duty hitch could be up-rated if the mount took advantage of the bumper.
This photo also shows how the support for the light-duty hitch is primarily a support for the semi-circular track.
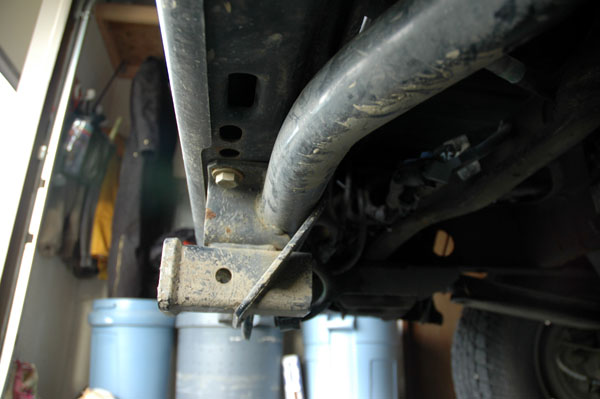
I was worried a bit about the spring bar brackets fitting on the frame rails interfering with the propane tanks, but it turned out to be a non-problem.

Issues with the PullRite
Exhaust Modification (routing)
The first issue operational issue we have with the PullRite is the very
significant loss of ground clearance at the rear of the truck and the related
lack of height of the stock ball mount.
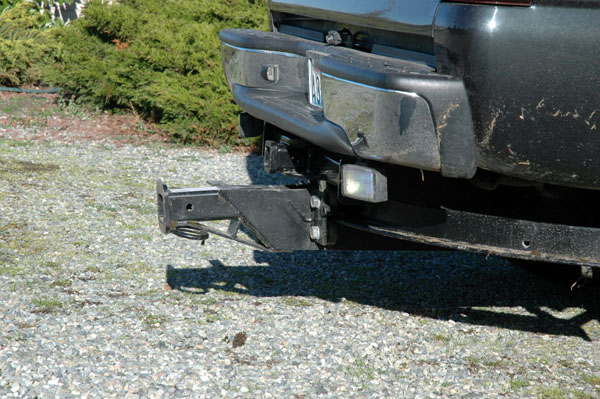
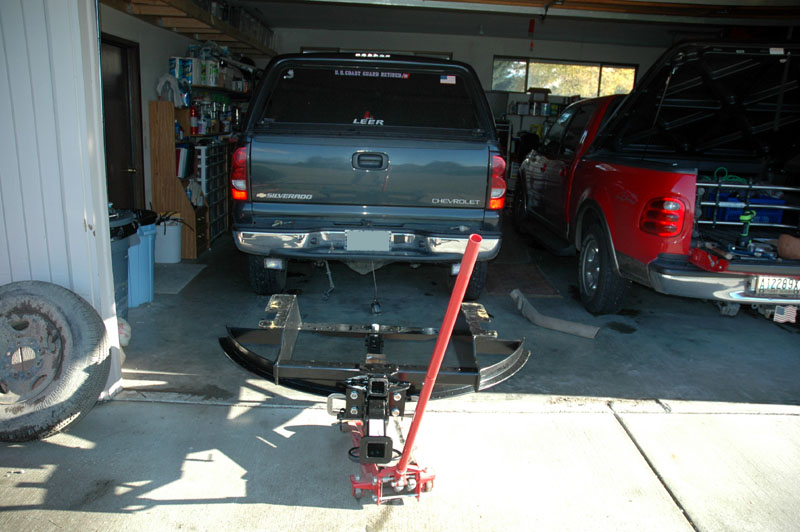
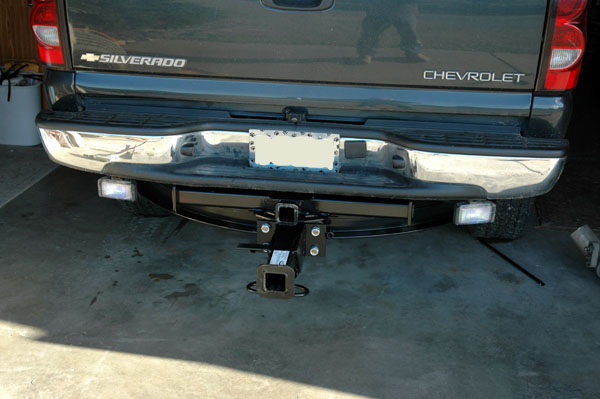
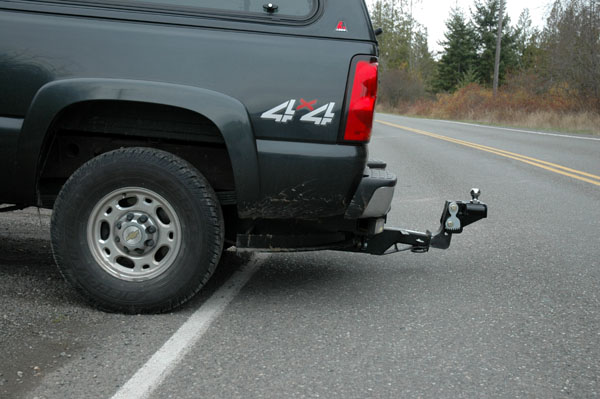
As you can see from this image, the PullRite towbar hangs much lower than the OE style receiver. This image was taken on a flat part of our driveway just outside the garage.
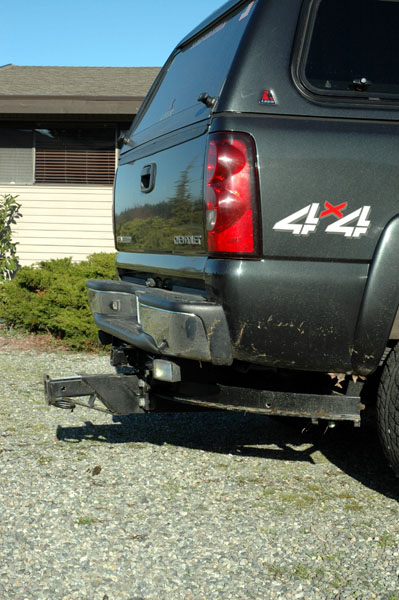
Another view of the low hanging PullRite tow bar. It's hard to imagine what ground clearance might be on a 4x2 truck instead of our 4x4.
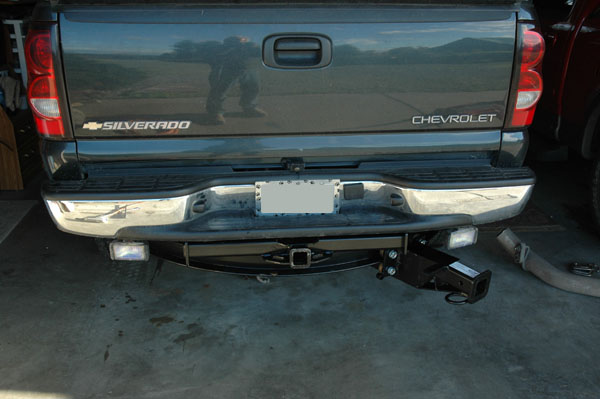
Here's a photo of the truck as it enters our driveway.
Note that this is without the trailer and without the usual camping stuff in the bed of the truck.
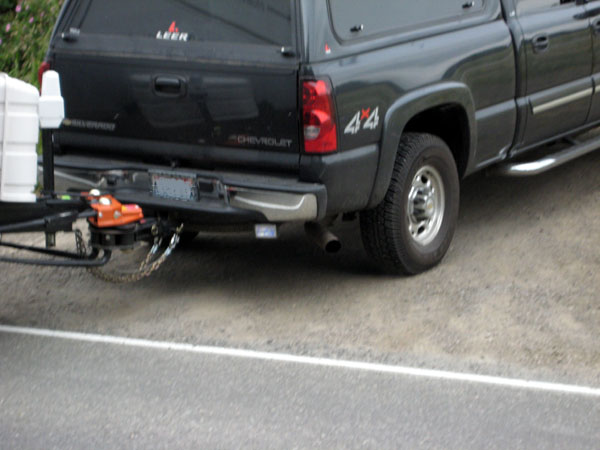
By comparison, here's a photo of the truck with the trailer and the truck loaded for a trip.
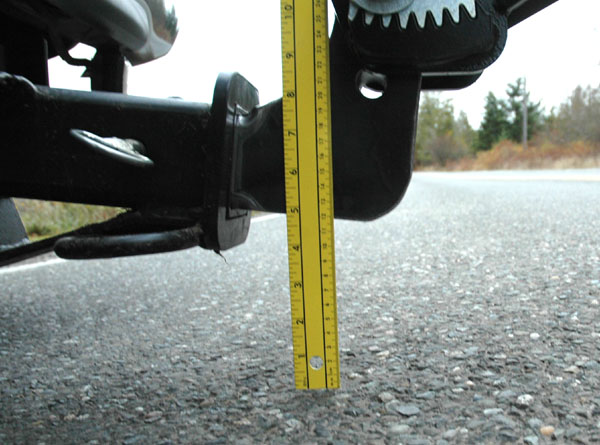
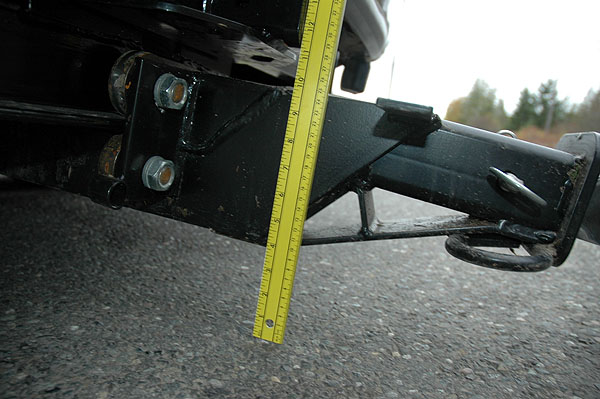
There is just 4" of clearance at the PullRite receiver flange & 4.5" at the custom billet draw bar. The PullRite draw bar was longer (front to rear) and hung down even lower.
A view of the clearance at the tow bar; just under 4".
Since these photos, we've lifted the rear of the truck 3". I'll post more photos ASAP.
According to the folks at PullRite, every PullRite installation necessitates re-routing the exhaust. In our case, the solution turned out to be quite easy. I took the truck to Eric's RV in town and their exhaust guy used most of the original tail pipe that I'd cut off as well as a pretty stainless steel tip I bought to re-route the exhaust around the new hitch. The bill was $110, plus the $45 I spent for the exhaust tip.
You'll have to forgive the dirty truck. We live on a dirt road and we use the truck off-road regularly. I did take some nice photos right after washing it, but I can't find those, of course!
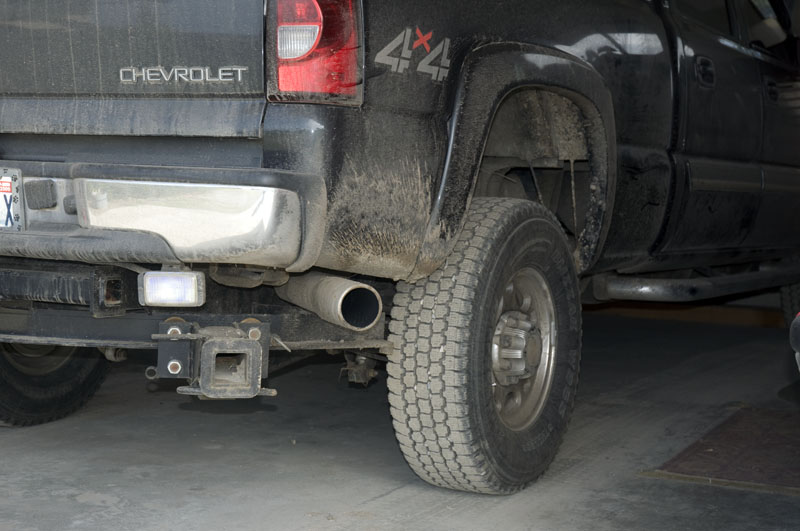
This photo shows the view the public sees of the exhaust
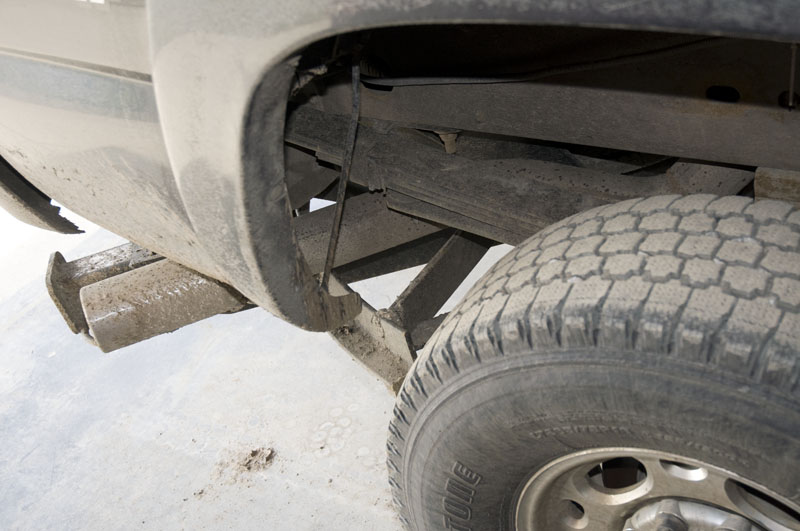
This photo shows the exhaust after the axle where it turns horizontoal more abruptly to go over the PullRite circle support
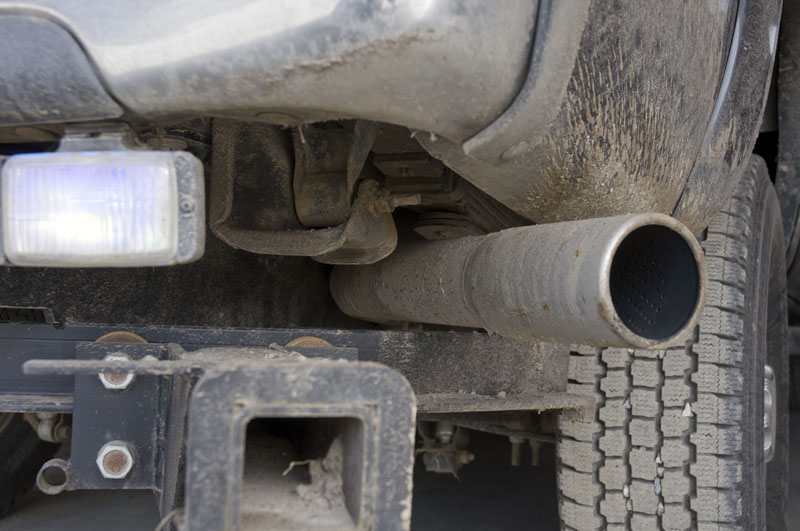
Here we're looking at the exhaust sneaking just above the PullRite circle and just below the fender
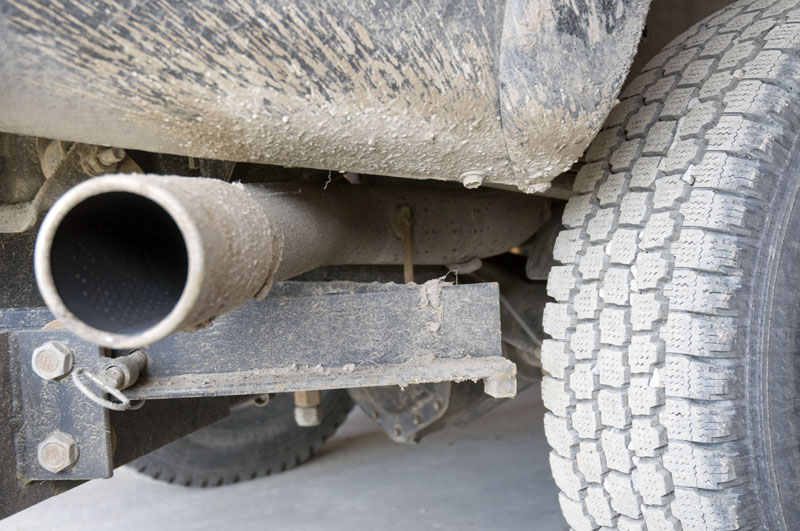
Another view showing the clearances as well as the OEM support that's been welded to the PullRite circle support
Updated: 3/19/2009