Installing a Remote Fuel Filter Mount on the Cummins C8.3

The original secondary fuel filter on the Cummins C8.3 engine mounts to the bottom of the cylinder head on the left side of the engine. This location works fine for trucks with cabs or hoods that tilt--you simply tilt the hood/cab and stand next to the engine and change the filter. What could be so hard about that? Well, when the engine is installed in a diesel pusher you can't stand next to it. In fact, you can hardly find the side of the engine even in older no-slide coaches with good service access under the bed. Either you stand on your head and reach around the throttle linkage and any other stuff that's in the way to get under the cylinder head and remove the fuel filter. The alternative is to try to reach the filter from below and not get fuel running down your arm or splattered in your eyes.
Fortunately, there are remote mounted fuel filter kits available. Unfortunately, many of them are quite expensive. I've seen several in the $500 range. The kit I used on our C8.3 is the Prime-Loc Model # PLU-16MM. I bought mine from Spartan Chassis for a little over $100.
The Prime-Loc kit comes with almost everything needed as you can see from the diagram image below. I say almost because if you want to mount the filter more than a very short distance from the original location on the engine you'll need new hoses made. My new hoses cost as much as the entire kit.
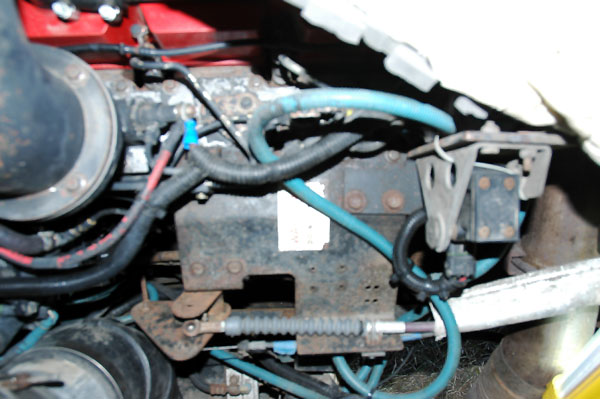
Somewhere in here is a fuel filter. Your mission is to find it, change it, and not bleed too much in the process!
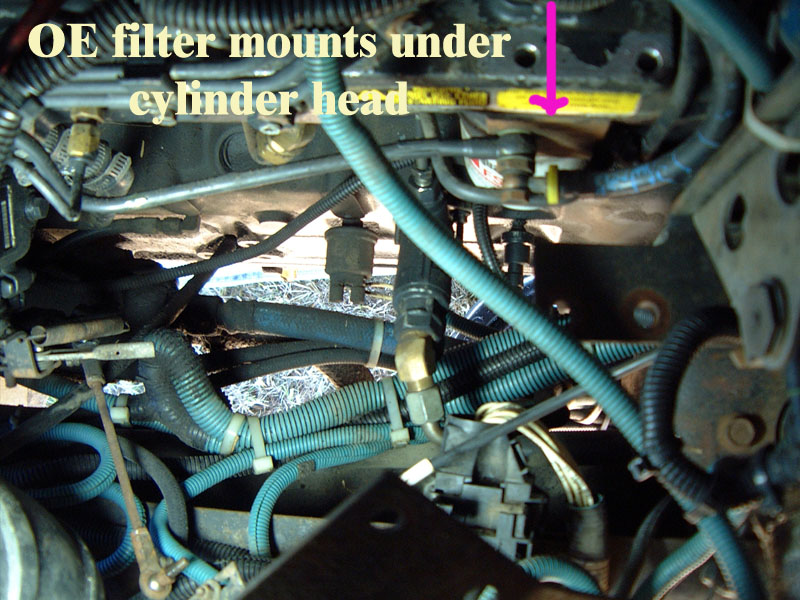
Here's the view from above AFTER removing the throttle linkage mounting plate (a corner of the plate is visible in the bottom of the picture).
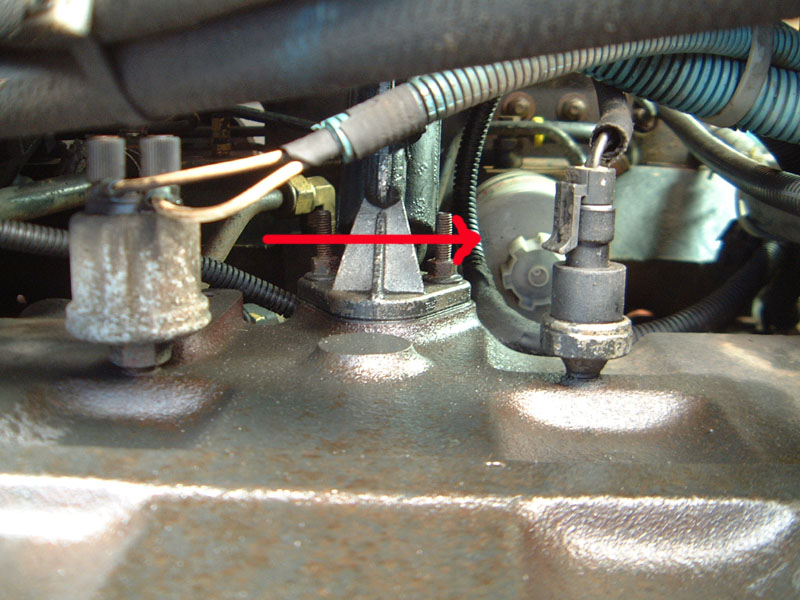
The view from below isn't much better. Doesn't it look like fun reaching up there to check the drain on the bottom of the filter for water? Not.
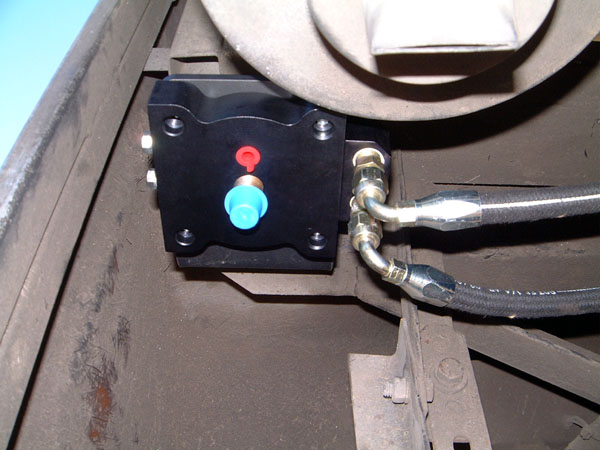
Filter mount viewed from ground level
The first order of business is to select a good site to install the new
filter mount. The location should be easily accessible and away from things like
the exhaust. It's also important to attach the mounting bracket to
something that is strong enough to live with vibration that's going to be
telegraphed down the fuel lines. I strongly suggest mounting the bracket
to steel and not to aluminum, as aluminum fatigues much faster than mild steel.
My bracket is through bolted to a steel cross member that supports the rear cap
structure. It's easily accessible just inside the rear basement door to
the air filter & battery cut-off switch panel.
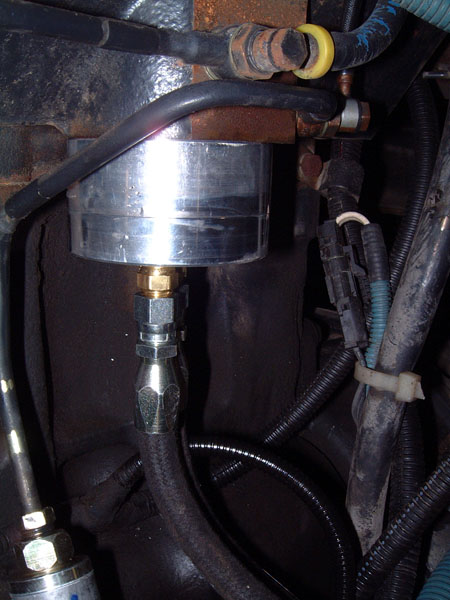
Once the new location for the filter mount has been determined, and the mount installed, it's time to remove the original filter and temporarily install the adapter that came with the kit. Once the adapter is in place, we can figure out how long the fuel lines need to be that will connect the adapter to the remote mount. I measured mine by attaching one of the hoses that came with the kit to the adapter and the other hose to the remote mount. Then, I could easily see how much too short or too long the two of them were combined. In my case, the combined length was perfect for one hose, so I needed two hoses twice as long as what came with the kit. Off to the hydraulic shop . . .
Once the new fuel lines are properly routed and secured, it's time to install the filter & bleed the fuel system.
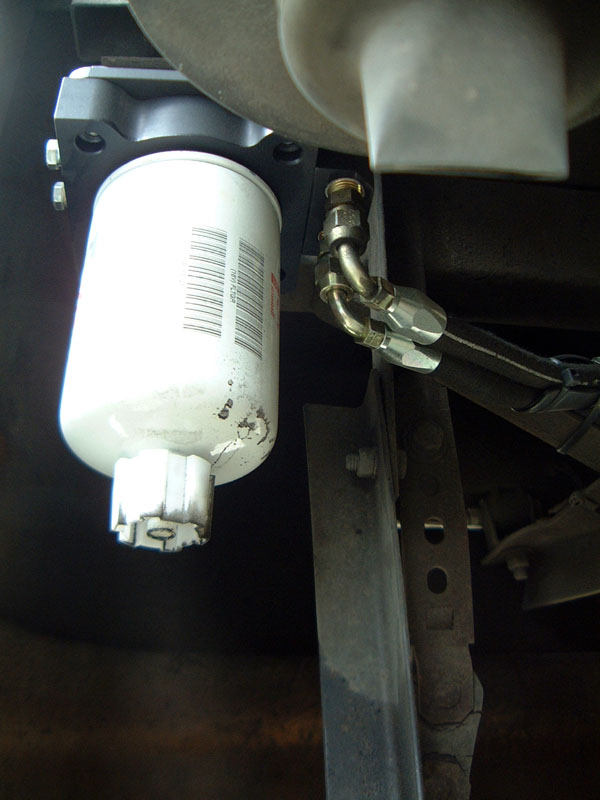
This is practically the same view as above, but with the standard Fleetguard filter installed
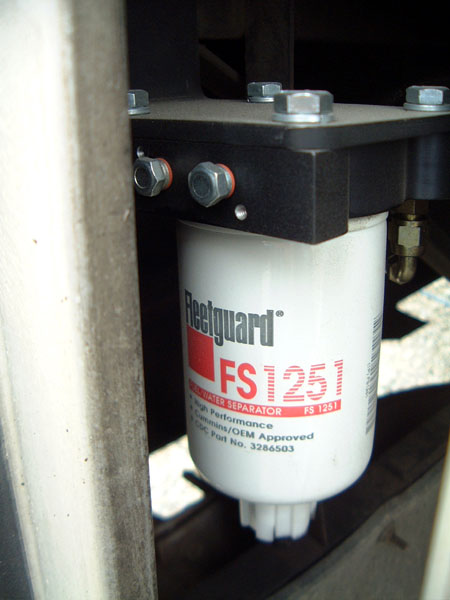
A view of the filter from the basement door. How much easier this will be to service!!
Update #1 Kit availability: Prime-Loc no longer offers the kit I used, but new kits are available for 16MM, 20MM & 1"-14 filters, plus a special kit for the Cummins ISC.
Update #2 courtesy of DeWayne
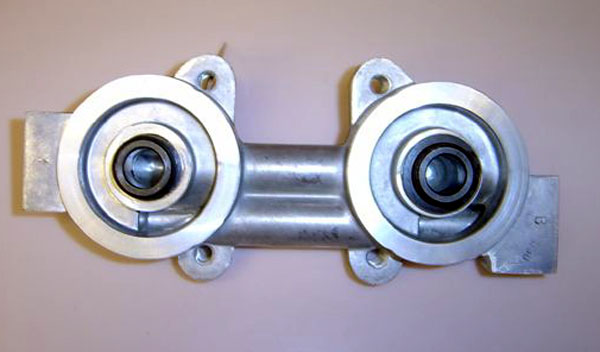
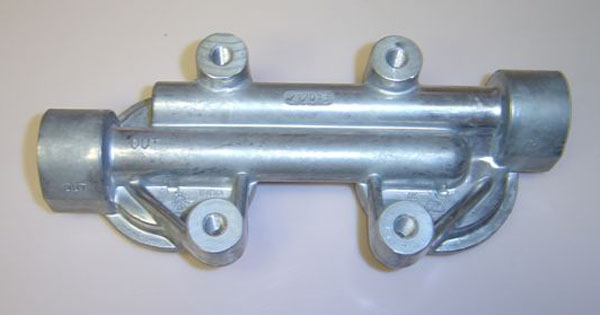
Cummins PN 212013S is available for dual fuel filter installations. This remote mounting head uses the more common 1"-14 thread filter mounting thread.
|
Overall Height: 0.15 (4) Largest OD: 5.66 (144) Largest ID: 5.36 (136) |
|
|
212013S |
Head used with FF104, FF105, FF213, FS1212 Dual fuel filter head |
Updated: 03/12/2008